Files you need to make tracks
You need the mx.exe from the full version of the game.Here's a blank track to start with: blank_track.zip
Unzip the blank track in "%LOCALAPPDATA%\MX Simulator\".
The easy way to find this folder is by using the start menu item called "MX Simulator Personal Folder", which will open the folder in an explorer window.
Depending on your OS, this could be several different places.
- Vista: C:\Users\<username>\AppData\Local\MX Simulator\
- Windows XP: C:\Documents and Settings\<username>\Local Settings\Application Data\MX Simulator\
- Windows 2000 C:\Documents and Settings\<username>\Application Data\MX Simulator\
Where <username> is your username.
You want the directory structure to be something like this:
C:\Program Files\MX Simulator\mx.exe
C:\Users\<username>\AppData\Local\MX Simulator\blank\billboards
C:\Users\<username>\AppData\Local\MX Simulator\blank\timing_gates
C:\Users\<username>\AppData\Local\MX Simulator\blank\terrain.hf
C:\Users\<username>\AppData\Local\MX Simulator\blank\terrain.png
C:\Users\<username>\AppData\Local\MX Simulator\blank\shading.ppm
C:\Users\<username>\AppData\Local\MX Simulator\blank\statues
C:\Users\<username>\AppData\Local\MX Simulator\blank\flaggers
C:\Users\<username>\AppData\Local\MX Simulator\blank\lighting
C:\Users\<username>\AppData\Local\MX Simulator\blank\map.png
C:\Users\<username>\AppData\Local\MX Simulator\blank\texturelist
C:\Users\<username>\AppData\Local\MX Simulator\blank\tilemap
You can now edit "terrain.png" and "shading.ppm" with your favorite image editing software and it should show up in the game.
MX Simulator Track Structure
Here's a short description of what each file does:
- blank/billboards
- Text file that places the sprites (currently used for spectators and most of the trees).
- blank/timing_gates
- Text file that sets the starting gate positions and timing checkpoints.
- blank/terrain.hf
- Text file that defines the height field size and resolution. The format is "[dimension] [resolution] [lowest point] [highest point]". For example, a height field that is 1025x1025, with 2 feet between each point, with a low point of 0 and a high point of 500, would be defined like this: "9 2.0 0.0 500.0".
- blank/terrain.png
- Greyscale png file that defines the heights. It should be square, and the size should match the size in "terrain.hf". For example, if the dimension in "terrain.hf" is 9, you would use 1025x1025 (29+1+1=1025).
- blank/shading.ppm
- RGB pnm image for shading the track.
- blank/statues
- Text file that places the stationary models.
- blank/flaggers
- Text file that places the flaggers.
- blank/lighting
- Text file that defines the light color and position.
- blank/map.png
- RGBA png file. This is the map in the top right.
- blank/texturelist
- This defines the different types of ground.
- blank/tilemap
- This is a raw array of bytes that defines what types of ground go where. The size is 2 to the power of the dimension in "terrain.hf". For example, if the dimension is 9, it would be 512x512 (29=512).
- blank/desc
- Text file that has the long name for the track.
The text files all have unix style line endings.
Built-in Track Editor
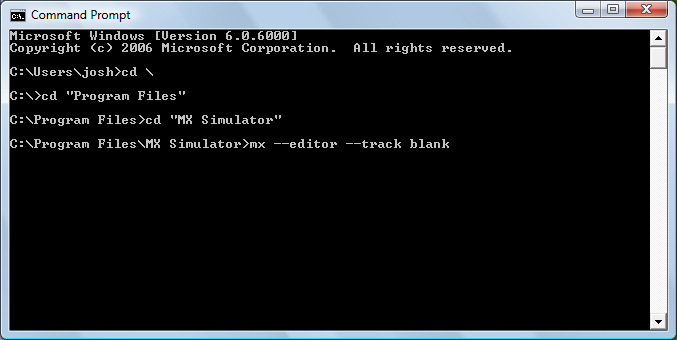
Enabling the Track Editor
To enable the track editor, you must add "--editor" to the command line when you start "mx.exe". Either add it to the shortcut or just start it from a command prompt - "c:\Program Files\MX Simulator> mx.exe --editor". Once it's started, hit TAB until you get to the editor screen.
Track Editor Basics
Yeah, it's ugly.
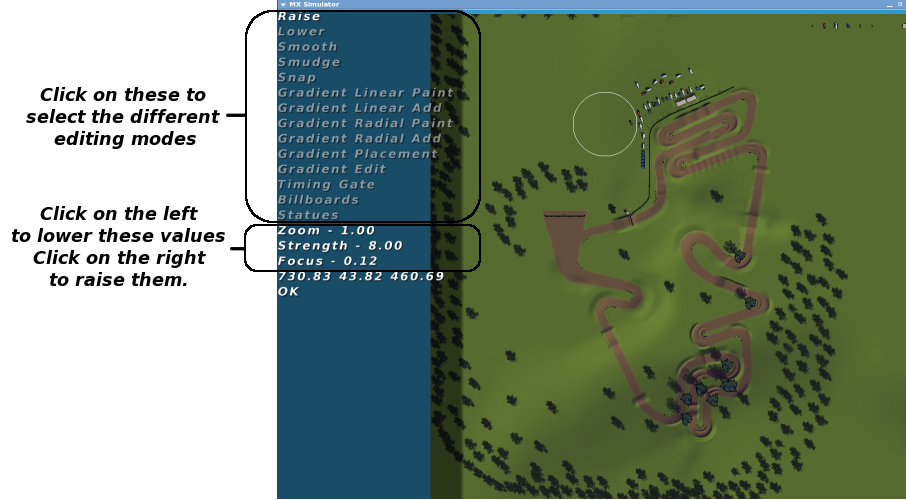
To scroll the map, right click and drag, or use the arrow keys. Most other actions are done with the left mouse button.
The other keys are:
| = - | Zoom in and out |
|---|---|
| [ ] | Adjust brush strength |
| BACKSPACE | Undo |
| DEL | Delete (in Billboard and Statue mode) |
| TAB | Switch back to game mode |
| d | Duplicate (Statue mode only) |
| f | Flatten gradient |
| p | Export a .pov file |
| s | Save |
| u | Update Back Buffer |
Step by Step - Making a jump
Load up MX Simulator with the blank track.
Click on "Gradient Placement", then drag the gradient endpoints to where you want the jump.
Click on "Gradient Edit", a 2d side view of the ground will appear (it should be totally flat). The black grid lines are at 10 foot intervals and the gray ones are at 2.5 feet. Add points by clicking on the side view until you have a jump.
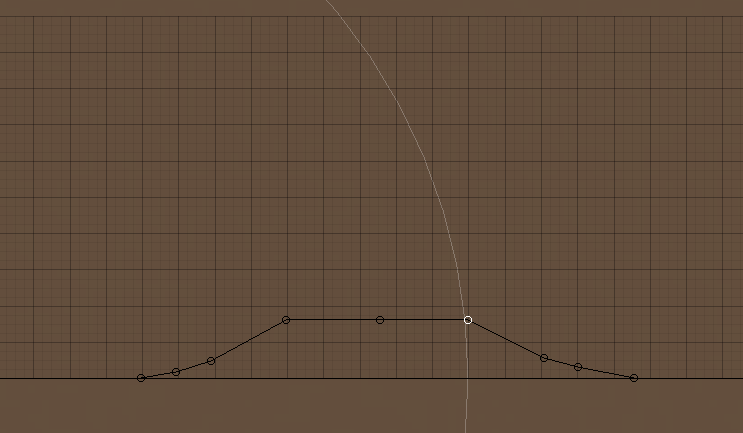
Now you have a gradient defined, but the track is still unchanged. To actually modify the track, click on "Gradient Linear Paint", and then paint your jump onto the track (you will probably want to increase Focus to at least .5 first). When you're done, hit "u" to update the back buffer.
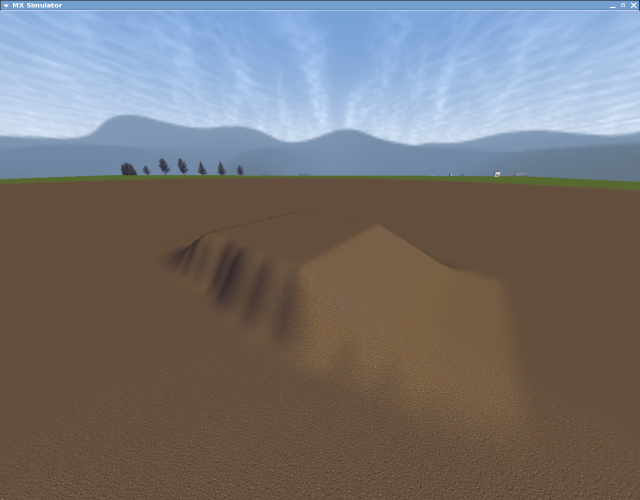
You can take a look at it now in the game. It might look blocky at first from a distance, that will fix itself after a minute or so when the tesselation map updates.
Making a berm
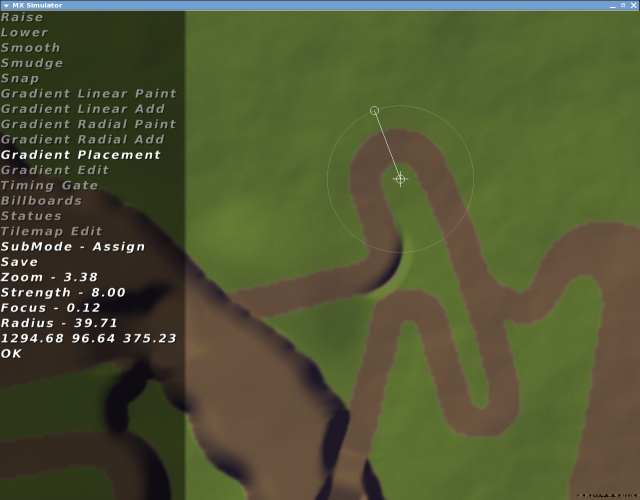
Click on "Gradient Placement", then move the center of the gradient to the center of the turn. Move the endpoint of the gradient outside of where you want the berm.
Click on "Gradient Edit". Flatten the gradient by pressing 'f'. Add a point that lines up with the peak of the berm.
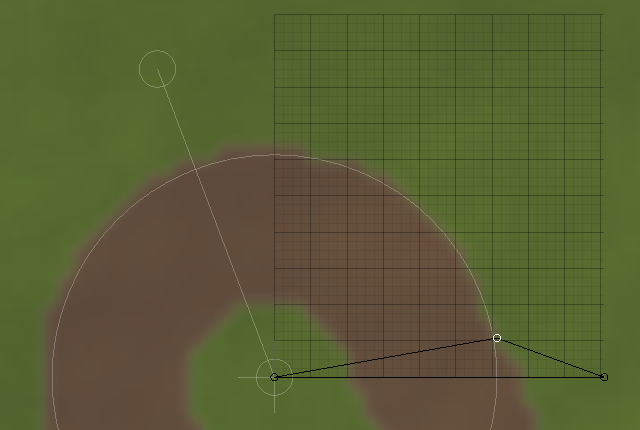
Add another point in the middle of the berm.

Finally, add a point at the bottom of the berm.
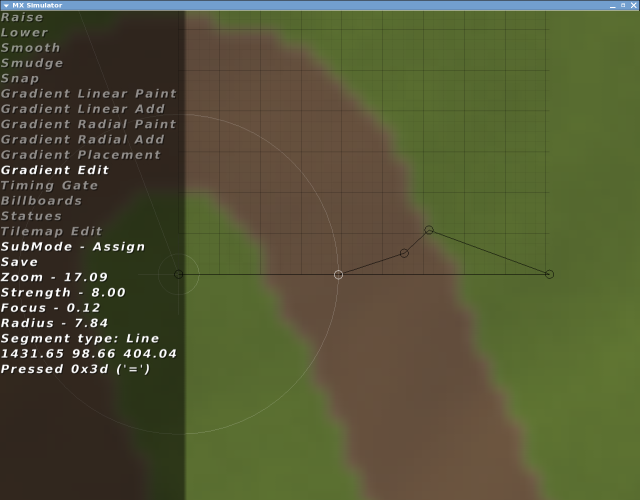
Convert the bottommost line segment to a curve.

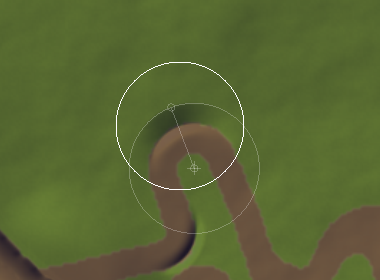
Now you have the gradient set up to make the berm. Now switch to "Gradient Radial Add" mode, set "Focus" to 0 and zoom back enough that the brush covers the whole berm.
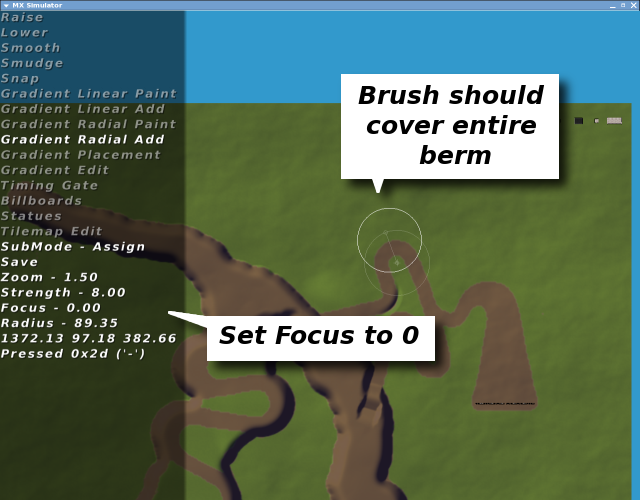
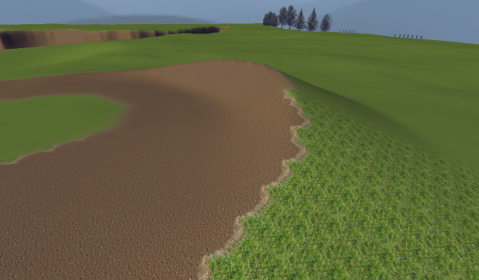
One click should be all it takes to paint in the berm.
Other Editing Modes
- Raise
- This mode raises the ground by "strength" feet when you draw on it.
- Lower
- This mode lowers the ground by "strength" feet when you draw on it.
- Smooth
- This mode blurs the ground by "strength" feet when you draw on it.
- Smudge
- This mode blurs the ground by "strength" feet in the direction you move the mouse when you draw on it.
- Snap
- This mode snaps the ground to a lower level of detail depending on "strength". You can use this mode to optimize a track's polygon count.
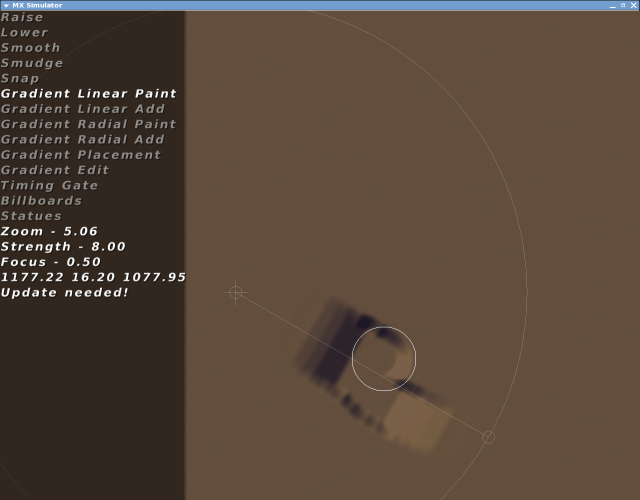
- Gradient Linear Paint
- This mode assigns the values from the gradient to the track as you draw. They are assigned along the line the gradient was defined on.
- Gradient Linear Add
- This mode adds the values from the gradient to the track as you draw. They are assigned along the line the gradient was defined on.
- Gradient Radial Paint
- This mode assigns the values from the gradient to the track as you draw. They are assigned radially around the origin the gradient was defined on.
- Gradient Radial Add
- This mode adds the values from the gradient to the track as you draw. They are assigned radially around the origin the gradient was defined on.
- Gradient Placement
- Places the gradient.
- Gradient Edit
- Edits the gradient.
- Timing Gate
- Places timing checkpoints.
- Billboards
- Places billboards.
- Statues
- Places statues.
To be continued...